How To Clean The Inside Of A Headlight: A Comprehensive Guide For Car Enthusiasts
Picture this: you’re cruising down the highway at night, feeling like the king of the road, but then you notice your headlights aren’t as bright as they used to be. What gives? Well, my friend, it could be that the inside of your headlights has taken a beating from dust, moisture, or even oxidation. Cleaning the inside of a headlight might sound intimidating, but trust me, it’s not rocket science. In this guide, we’ll walk you through how to clean the inside of a headlight step by step, so your car can shine like the superstar it is.
Now, before we dive into the nitty-gritty, let’s clear the air. Cleaning the inside of a headlight isn’t just about aesthetics. It’s about safety too. Dim headlights can impair your visibility, especially during those late-night drives or foggy mornings. And who wants to deal with that? Not me, and definitely not you. So, let’s roll up our sleeves and get to work.
By the end of this guide, you’ll be armed with all the knowledge you need to restore your headlights to their former glory. Whether you’re a DIY enthusiast or someone who’s never touched a wrench in their life, this guide has got you covered. Let’s get started!
Read also:Dr Scholls Madison Lace The Ultimate Guide To Comfort And Style
Why Cleaning the Inside of a Headlight Matters
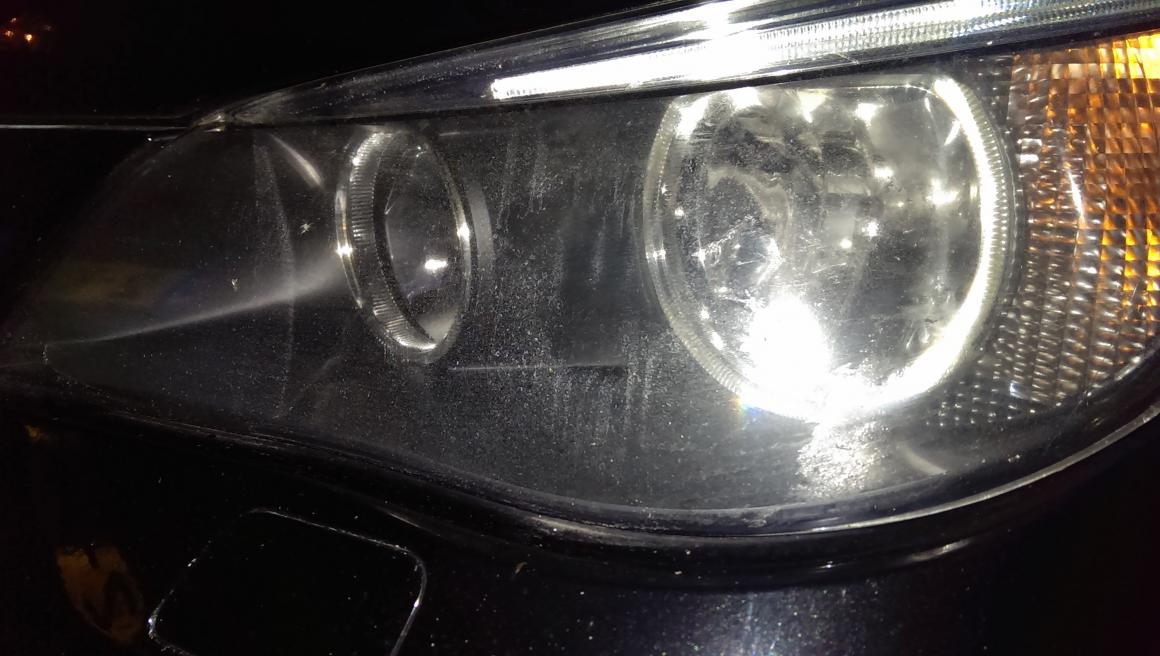
Okay, so why should you care about cleaning the inside of your headlights? Well, here’s the deal: over time, dirt, moisture, and debris can accumulate inside your headlights. This buildup can cause them to fog up or become hazy, reducing their effectiveness. And trust me, no one wants to drive around with headlights that look like they’ve seen better days.
Plus, clean headlights aren’t just about looking good. They’re also crucial for safety. When your headlights aren’t functioning at their best, it can affect your ability to see the road clearly, especially in low-light conditions. And let’s be real, safety should always be a top priority when it comes to your car.
Common Causes of Headlight Fogging
Before we jump into the cleaning process, it’s important to understand what causes headlights to fog up in the first place. Here are some of the most common culprits:
- Moisture: Yep, water can sneak its way inside your headlights, especially if there’s a crack or sealant issue.
- Dirt and Debris: Dust, dirt, and other particles can accumulate inside your headlights over time.
- Oxidation: The plastic lens of your headlights can break down due to exposure to UV rays, leading to a hazy appearance.
Tools and Materials You’ll Need
Now that you know why cleaning the inside of your headlights is important, let’s talk about what you’ll need to get the job done. Here’s a list of tools and materials that will make the process a breeze:
- Screwdriver or Allen wrench (depending on your car model)
- Compressed air or a can of air duster
- Isopropyl alcohol (90% or higher)
- Cotton swabs or a lint-free cloth
- Microfiber towel
- Headlight sealant or adhesive (optional)
Don’t worry if you don’t have all these tools on hand. Most of them are pretty affordable and easy to find at your local auto parts store or online.
Step-by-Step Guide: How to Clean the Inside of a Headlight
Step 1: Gather Your Supplies
First things first, make sure you have all the tools and materials you’ll need within reach. Trust me, the last thing you want is to be halfway through the process and realize you’re missing something crucial.
Read also:Old Navy Utility Jacket Your Ultimate Fashion Companion
Step 2: Remove the Headlight Assembly
Now, it’s time to get your hands dirty (well, not too dirty). You’ll need to remove the headlight assembly from your car. This process can vary depending on your car model, so consult your owner’s manual or a repair guide if you’re unsure. Most headlights are secured with screws or clips, so a screwdriver or Allen wrench should do the trick.
Step 3: Inspect for Damage
Once the headlight is out, take a close look at it. Check for any cracks, leaks, or damaged seals. If you notice any issues, it might be a good idea to replace the sealant or even the entire headlight assembly to prevent future problems.
Step 4: Use Compressed Air to Remove Debris
Now, here’s where the fun begins. Grab your can of compressed air and gently blow out any dirt, dust, or debris that’s accumulated inside the headlight. Be careful not to damage any of the internal components while you’re at it.
Step 5: Clean with Isopropyl Alcohol
Next, take your cotton swabs or lint-free cloth and dip them in some isopropyl alcohol. Gently wipe down the inside of the headlight to remove any remaining grime. This step is crucial for ensuring a thorough clean.
Step 6: Dry and Polish
Once you’ve cleaned the inside of the headlight, use a microfiber towel to dry it off. If you want to take it a step further, you can polish the lens to restore its clarity and shine. There are plenty of headlight restoration kits on the market that can help with this.
Step 7: Reinstall the Headlight Assembly
With your headlight now sparkling clean, it’s time to put it back in place. Make sure all the screws or clips are securely fastened, and double-check that everything is aligned properly.
Tips for Maintaining Your Headlights
Cleaning the inside of your headlights is just the first step in maintaining their longevity. Here are a few tips to help keep your headlights in tip-top shape:
- Regularly check for moisture buildup and address any issues promptly.
- Use a headlight sealant or adhesive to prevent leaks and cracks.
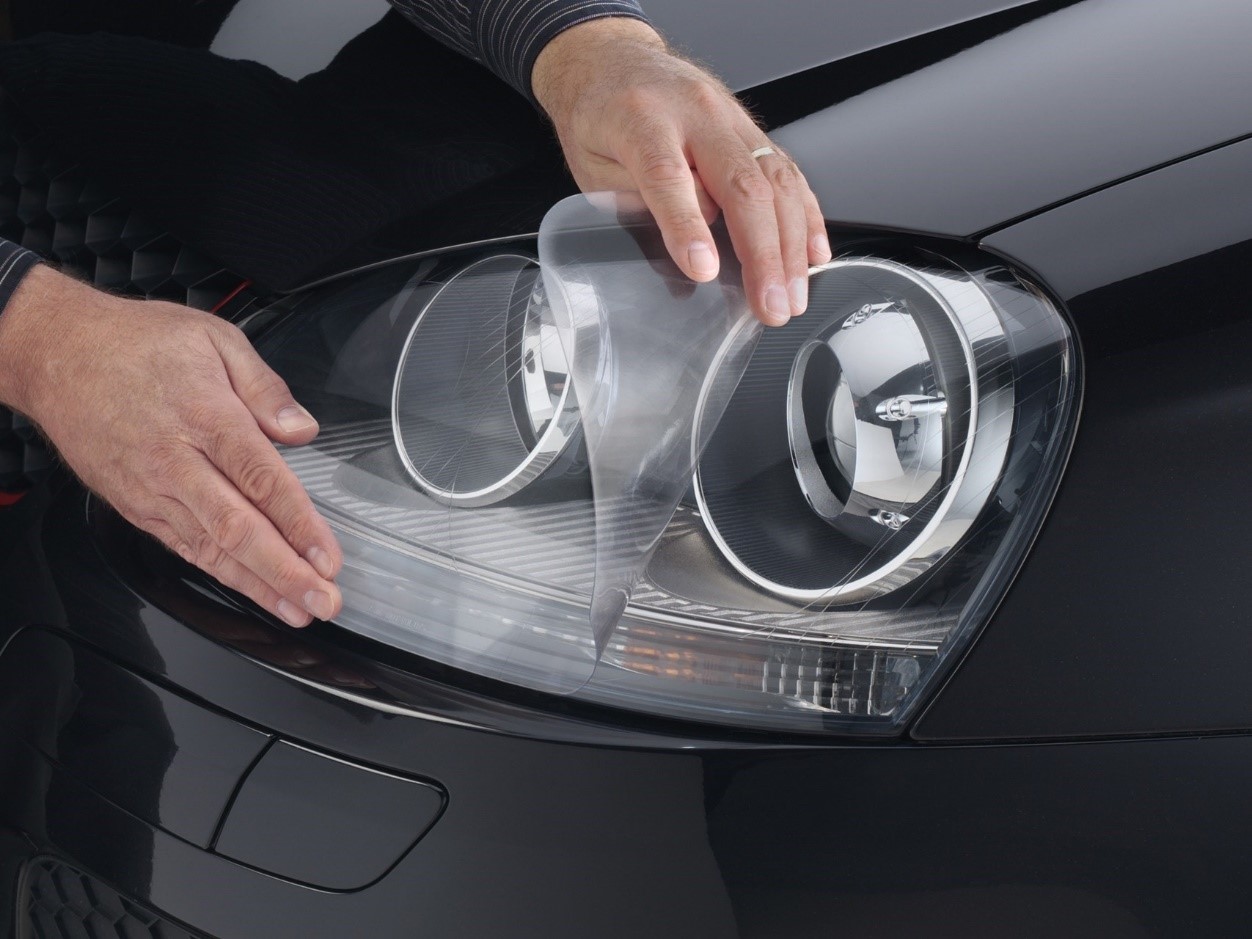
- Consider installing headlight covers to protect them from road debris.
- Wash your car regularly to prevent dirt and grime from accumulating on the exterior of your headlights.
Common Mistakes to Avoid
While cleaning the inside of your headlights might seem straightforward, there are a few common mistakes that people make. Here are some things to watch out for:
- Using harsh chemicals that can damage the plastic lens.
- Not properly drying the headlight after cleaning, which can lead to moisture buildup.
- Skipping the inspection step and missing potential damage or sealant issues.
When to Seek Professional Help
Let’s face it, not everyone is a DIY guru. If you’re not comfortable tackling this project on your own, or if your headlights are severely damaged, it might be time to seek professional help. A qualified mechanic or auto repair shop can assess the condition of your headlights and recommend the best course of action.
Cost Considerations
Now, let’s talk money. Cleaning the inside of your headlights yourself can save you a pretty penny compared to taking your car to a professional. Most of the tools and materials you’ll need are relatively inexpensive, and you can reuse them for future projects. However, if your headlights are beyond repair, replacing them can be a bit pricier. Be sure to shop around and compare prices before making a purchase.
Conclusion
Congratulations! You’ve made it to the end of this comprehensive guide on how to clean the inside of a headlight. By following these steps, you can restore your headlights to their former glory and ensure your car is as safe as it is stylish. Remember, regular maintenance is key to keeping your headlights in top condition, so don’t neglect them.
Now, it’s your turn to take action. Share this guide with your fellow car enthusiasts, leave a comment if you have any questions, or check out our other articles for more tips and tricks. Together, let’s keep those headlights shining bright and the roads safe for everyone!
Table of Contents
- Why Cleaning the Inside of a Headlight Matters
- Common Causes of Headlight Fogging
- Tools and Materials You’ll Need
- Step-by-Step Guide: How to Clean the Inside of a Headlight
- Step 1: Gather Your Supplies
- Step 2: Remove the Headlight Assembly
- Step 3: Inspect for Damage
- Step 4: Use Compressed Air to Remove Debris
- Step 5: Clean with Isopropyl Alcohol
- Step 6: Dry and Polish
- Step 7: Reinstall the Headlight Assembly
- Tips for Maintaining Your Headlights
- Common Mistakes to Avoid
- When to Seek Professional Help
- Cost Considerations
- Conclusion
Article Recommendations