How To Sew A Cuff Like A Pro: The Ultimate Guide For Beginners And Experts
Hey there, crafters! Let’s dive straight into something super practical and fun. If you’ve ever wondered how to sew a cuff like a pro, you’re in the right place. Whether you’re fixing an old pair of jeans, customizing your sleeves, or creating a new project from scratch, mastering this skill is a game-changer. So grab your needle, thread, and let’s get started!
Now, before we jump into the nitty-gritty, let’s talk about why sewing cuffs matters. It’s not just about hemming fabric—it’s about adding that personal touch to your clothes. Imagine transforming a plain shirt into something stylish and unique just by altering the cuffs. Sounds exciting, right? Stick around, and I’ll walk you through every step.
One more thing before we begin—don’t stress if you’re a beginner. This guide is designed to be super easy to follow, even if you’ve never sewn a stitch in your life. By the end of it, you’ll be sewing cuffs like you’ve been doing it for years. Let’s do this!
Read also:Why Thursday Combat Boots Are A Gamechanger For Women
Table of Contents
- Introduction to Cuff Sewing
- Tools You Need for Sewing Cuffs
- Basic Techniques for Sewing Cuffs
- Different Types of Cuffs
- Choosing the Right Fabric
- Step-by-Step Guide to Sew a Cuff
- Common Mistakes and How to Avoid Them
- Tips for Customizing Your Cuffs
- Maintaining Your Sewn Cuffs
- Final Thoughts on Sewing Cuffs
Introduction to Cuff Sewing
Alright, let’s talk about the basics. Sewing cuffs might seem intimidating at first, but trust me, it’s not as hard as it looks. A cuff, in simple terms, is the part of a sleeve or pant leg that’s folded or gathered to create a finished edge. It’s like giving your fabric a stylish haircut.
When you learn how to sew a cuff, you open up a whole world of possibilities. You can adjust the length of your clothes, add decorative elements, or even repair damaged hems. Plus, it’s a skill that’ll save you money in the long run. Who needs to pay for alterations when you’ve got this guide?
Here’s the deal: sewing cuffs isn’t just about functionality—it’s also about creativity. You can experiment with different styles, patterns, and fabrics to make your clothes stand out. So, whether you’re a fashionista or just someone who loves DIY projects, this guide has got you covered.
Tools You Need for Sewing Cuffs
Before we dive into the techniques, let’s talk about the tools. Having the right tools makes all the difference when you’re learning how to sew a cuff. Here’s what you’ll need:
- Needle (sharp for woven fabrics, ballpoint for knits)
- Thread (matching the color of your fabric)
- Scissors (sharp and precise)
- Fabric Pins
- Measuring Tape
- Sewing Machine (optional but recommended)
- Iron and Ironing Board
These tools might sound basic, but they’re essential. A good pair of scissors, for example, can make cutting fabric a breeze. And let’s not forget the iron—it’s your best friend when it comes to pressing seams and folds.
Why a Sewing Machine Matters
While you can sew cuffs by hand, a sewing machine will save you tons of time and effort. It’s especially useful for longer hems or thicker fabrics. If you’re new to sewing machines, don’t worry—they’re easier to use than you think. Just follow the instructions, and you’ll be good to go.
Read also:White Blouse With Sweater The Ultimate Guide To Stylish Layers
Basic Techniques for Sewing Cuffs
Now that you’ve got your tools, let’s talk about the techniques. Sewing a cuff involves a few key steps, and mastering these will make your life so much easier.
First, you’ll need to measure the fabric. Use your measuring tape to determine how much fabric you’ll need for the cuff. Then, fold the fabric over and press it with an iron to create a clean edge. This is called a “hem fold,” and it’s the foundation of any good cuff.
Next, pin the fabric in place. This keeps it from shifting while you sew. Once everything’s pinned, you can start stitching. If you’re using a sewing machine, set it to a straight stitch or a zigzag stitch, depending on the fabric. For hand sewing, a simple backstitch works wonders.
Pro Tip: Press as You Go
One of the biggest secrets to sewing great cuffs is pressing as you go. This means using your iron after each step to smooth out the fabric. It might seem like an extra step, but trust me, it makes a huge difference in the final result.
Different Types of Cuffs
Not all cuffs are created equal. There are several types of cuffs you can sew, each with its own style and purpose. Here’s a quick rundown:
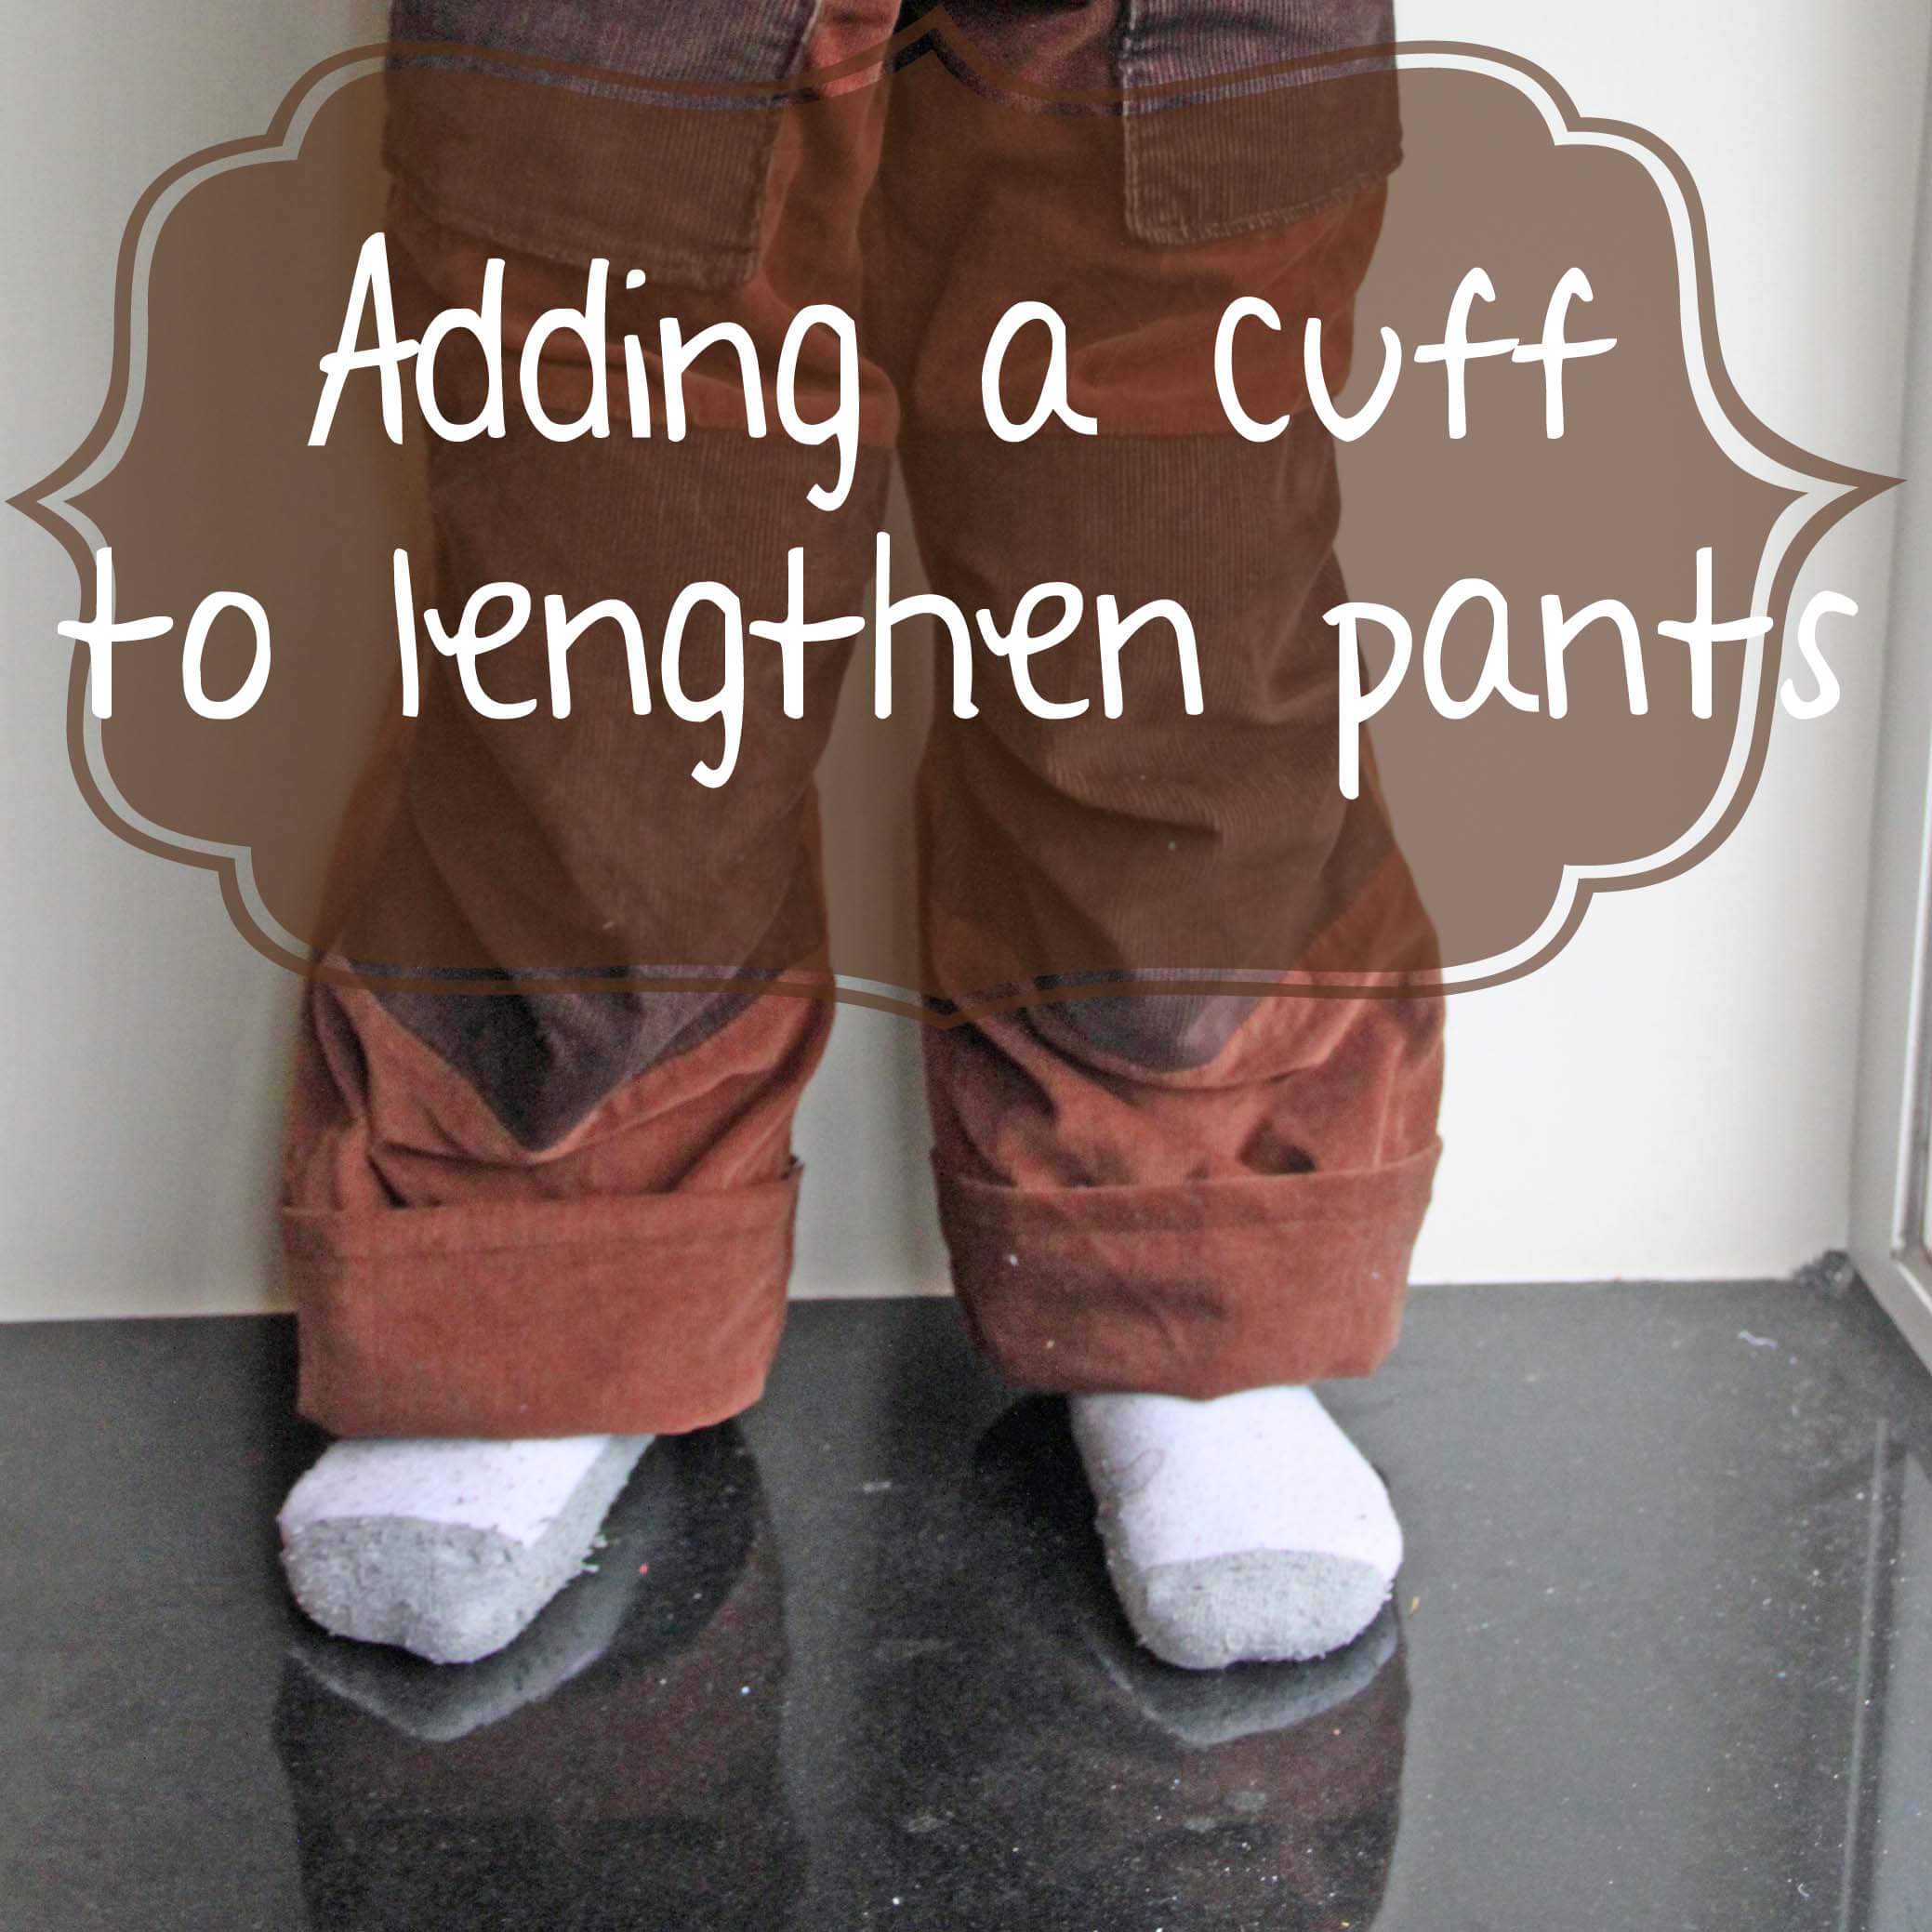
- Turned-Up Cuff: The classic cuff where the fabric is folded up and sewn in place.
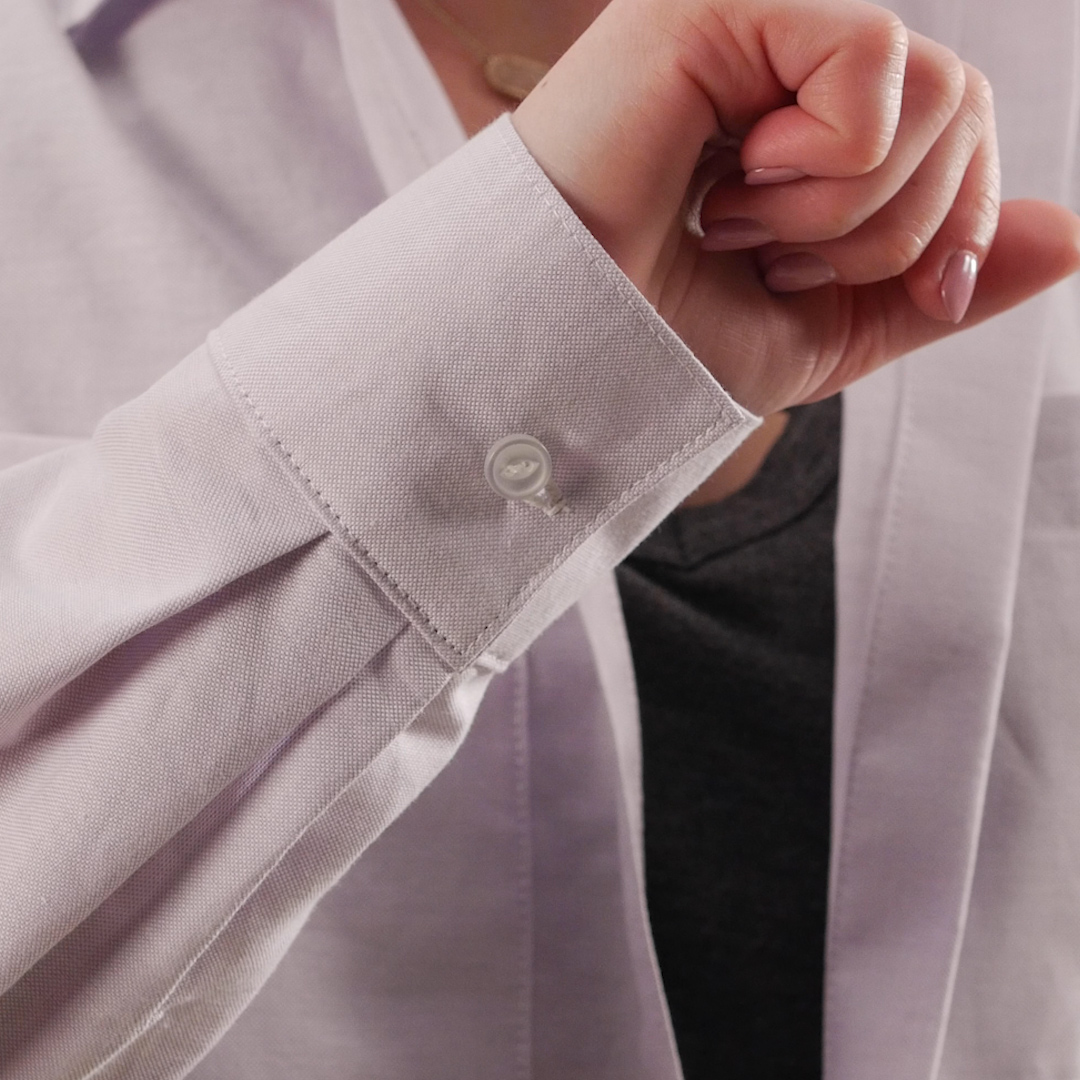
- French Cuff: A more formal option, often seen on dress shirts.
- Elastic Cuff: Great for stretchy fabrics, this cuff uses elastic to create a snug fit.
- Gathered Cuff: Adds a bit of flair by gathering the fabric at the end of the sleeve.
Choosing the right type of cuff depends on the fabric, the garment, and your personal style. Don’t be afraid to experiment and try something new!
Which Cuff is Right for You?
If you’re just starting out, I recommend going with a simple turned-up cuff. It’s easy to sew and works with almost any fabric. As you gain confidence, you can move on to more complex designs like French cuffs or elastic cuffs.
Choosing the Right Fabric
Fabric plays a huge role in how your cuff turns out. Some fabrics are easier to sew than others, so it’s important to choose wisely. Here are a few tips:
- Cotton: A great all-around fabric that’s easy to sew and holds a hem well.
- Denim: Perfect for jeans cuffs, but can be a bit tough to sew through.
- Silk: Adds a luxurious touch, but requires extra care when sewing.
- Knits: Stretchy and comfortable, but can be tricky to hem without a serger.
When in doubt, start with something simple like cotton or lightweight denim. These fabrics are forgiving and easy to work with, making them perfect for beginners.
How to Prep Your Fabric
Before you start sewing, make sure your fabric is prepped. Wash and dry it to pre-shrink it, then iron it to remove any wrinkles. This will help your cuff look neat and professional.
Step-by-Step Guide to Sew a Cuff
Alright, let’s get down to business. Here’s a step-by-step guide to sewing a cuff:
- Measure the fabric and mark where you want the cuff to be.
- Fold the fabric over twice to create a double hem. Press it with an iron.
- Pin the fabric in place, making sure it’s even all the way around.
- Stitch along the edge of the fold, using a straight or zigzag stitch.
- Trim any excess fabric and press the cuff one last time.
See? It’s not that hard! With a little practice, you’ll be sewing cuffs like a pro in no time.
Advanced Techniques
Once you’ve mastered the basics, you can try some advanced techniques. For example, you can add decorative stitching to your cuffs for a personalized touch. Or, you can experiment with different types of hems, like blind hems or rolled hems.
Common Mistakes and How to Avoid Them
Even the best sewers make mistakes sometimes. Here are a few common issues you might encounter when sewing cuffs, along with solutions:
- Uneven Hem: Make sure your fabric is folded evenly before sewing.
- Thread Breaking: Check your needle size and make sure it matches your fabric.
- Puckering Fabric: Use a walking foot on your sewing machine to prevent this.
Don’t get discouraged if things don’t go perfectly the first time. Sewing is all about learning from your mistakes and improving with practice.
How to Fix Mistakes
If you do make a mistake, don’t panic. Most sewing errors can be fixed. For example, if your hem is uneven, you can unpick the stitches and start over. It’s tedious, but it’s worth it for a professional-looking cuff.
Tips for Customizing Your Cuffs
Once you’ve got the basics down, it’s time to get creative. Here are a few ideas for customizing your cuffs:
- Add decorative buttons or snaps.
- Use contrasting thread for a bold look.
- Embroider patterns or designs onto the cuff.
Customizing your cuffs is a great way to express your personal style. Don’t be afraid to experiment and try new things!
Where to Find Inspiration
For inspiration, check out fashion blogs, Pinterest, or even your own wardrobe. Look at how designers create cuffs and think about how you can adapt those ideas to your own projects.
Maintaining Your Sewn Cuffs
Finally, let’s talk about maintenance. Once you’ve sewn your cuffs, you’ll want to keep them looking their best. Here are a few tips:
- Wash your clothes inside out to protect the cuffs.
- Avoid using bleach, as it can weaken the fabric.
- Iron the cuffs regularly to keep them crisp and clean.
With a little care, your cuffs will last for years and continue to look great.
When to Repair Cuffs
If your cuffs start to wear out, don’t throw the garment away. Instead, repair the cuffs by resewing them or adding a patch. It’s a quick fix that can extend the life of your clothes.
Final Thoughts on Sewing Cuffs
Well, there you have it—everything you need to know about how to sew a cuff. From tools and techniques to customization and maintenance, this guide has covered it all. Sewing cuffs might seem daunting at first, but with practice, it becomes second nature.
So, what are you waiting for? Grab your supplies and start sewing! And don’t forget to share your creations with us in the comments below. We’d love to see what you come up with. Happy sewing, and remember—creativity knows no bounds!
Article Recommendations