Henna Secrets Unveiled: Tips For Applying Henna Like A Pro
Do you dream of creating stunning henna designs that will make heads turn? Well, you’re in the right place! Henna has been a timeless art form for centuries, and mastering it can be both rewarding and fun. Whether you’re a beginner or looking to refine your skills, this guide will walk you through everything you need to know about tips for applying henna. Let’s dive in and unleash your creativity!
Henna is more than just a temporary tattoo; it’s an expression of culture, tradition, and personal style. But here’s the deal—applying henna isn’t as simple as squeezing the cone and hoping for the best. There are tricks, techniques, and secrets that can elevate your henna game to the next level. In this article, we’ll explore all the tips and tricks you need to achieve flawless results every time.
So, whether you’re planning to DIY your own henna design or want to impress your friends at your next party, these tips for applying henna will have you covered. Let’s get started and turn you into a henna master in no time!
Read also:How Long Do Lash Extensions Last Before A Fill Everything You Need To Know
Daftar Isi
- Understanding Henna Basics
- Choosing the Right Henna
- Preparation is Key
- Tips for Applying Henna
- Common Mistakes to Avoid
- Aftercare Tips for Long-Lasting Henna
- Creative Henna Designs
- Henna for Different Skin Types
- Henna FAQs
- Conclusion and Final Thoughts
Understanding Henna Basics
Before we jump into the tips for applying henna, let’s break down the basics. Henna is a natural dye derived from the leaves of the henna plant, and it’s been used for thousands of years to create intricate designs on the skin. It’s not just about slapping some paste on your hand; it’s an art form that requires patience and practice.
Here’s the lowdown: Henna paste contains lawsone, a compound that binds with your skin to create that beautiful reddish-brown stain. The longer you leave the paste on, the darker the stain will be. Cool, right? But here’s the kicker—different factors like temperature, skin type, and aftercare can affect the final result. So, it’s essential to understand these basics before you start designing.
Why Henna is Special
Henna isn’t just about aesthetics; it holds cultural significance in many parts of the world. From weddings to festivals, henna is a symbol of celebration and tradition. And let’s be honest, who doesn’t love the earthy smell of fresh henna paste? It’s like a little piece of nature on your skin.
Choosing the Right Henna
Not all henna is created equal, and choosing the right product is crucial for achieving the best results. Here’s what you need to look for:
- Pure Henna: Always opt for 100% natural henna powder. Avoid anything with added chemicals or synthetic dyes.
- Reputable Brands: Stick to trusted brands that prioritize quality and safety. Do your research and read reviews before purchasing.
- Freshness Matters: Fresh henna powder will give you better results. Check the packaging for the harvest date and make sure it’s recent.
Remember, cheap henna might save you a buck, but it could ruin your design and even irritate your skin. So, invest in good quality henna—it’s worth it!
DIY Henna Paste Recipe
If you’re feeling adventurous, you can make your own henna paste at home. Here’s a simple recipe:
Read also:Women Lace Up Combat Boots Your Ultimate Style Guide
- Mix henna powder with lemon juice and sugar.
- Let it sit for a few hours to activate the dye.
- Store it in an airtight container and refrigerate until ready to use.
This homemade paste is not only cost-effective but also ensures you’re using pure, natural ingredients.
Preparation is Key
Preparation is where the magic begins. Just like any art form, setting the stage is crucial. Here’s how you can prepare for a flawless henna application:
1. Clean Your Skin: Make sure the area you’re applying henna to is clean and free of oils or lotions. A clean surface will help the henna paste adhere better.
2. Exfoliate: Gently exfoliate the area a day or two before application. This removes dead skin cells and allows the henna to stain more deeply.
3. Test the Paste: Before applying henna to a large area, do a patch test to ensure there’s no allergic reaction.
Setting the Mood
Creating a relaxing environment can make the henna application process more enjoyable. Play some calming music, light a few candles, and let your creativity flow. Trust me, it makes a difference!
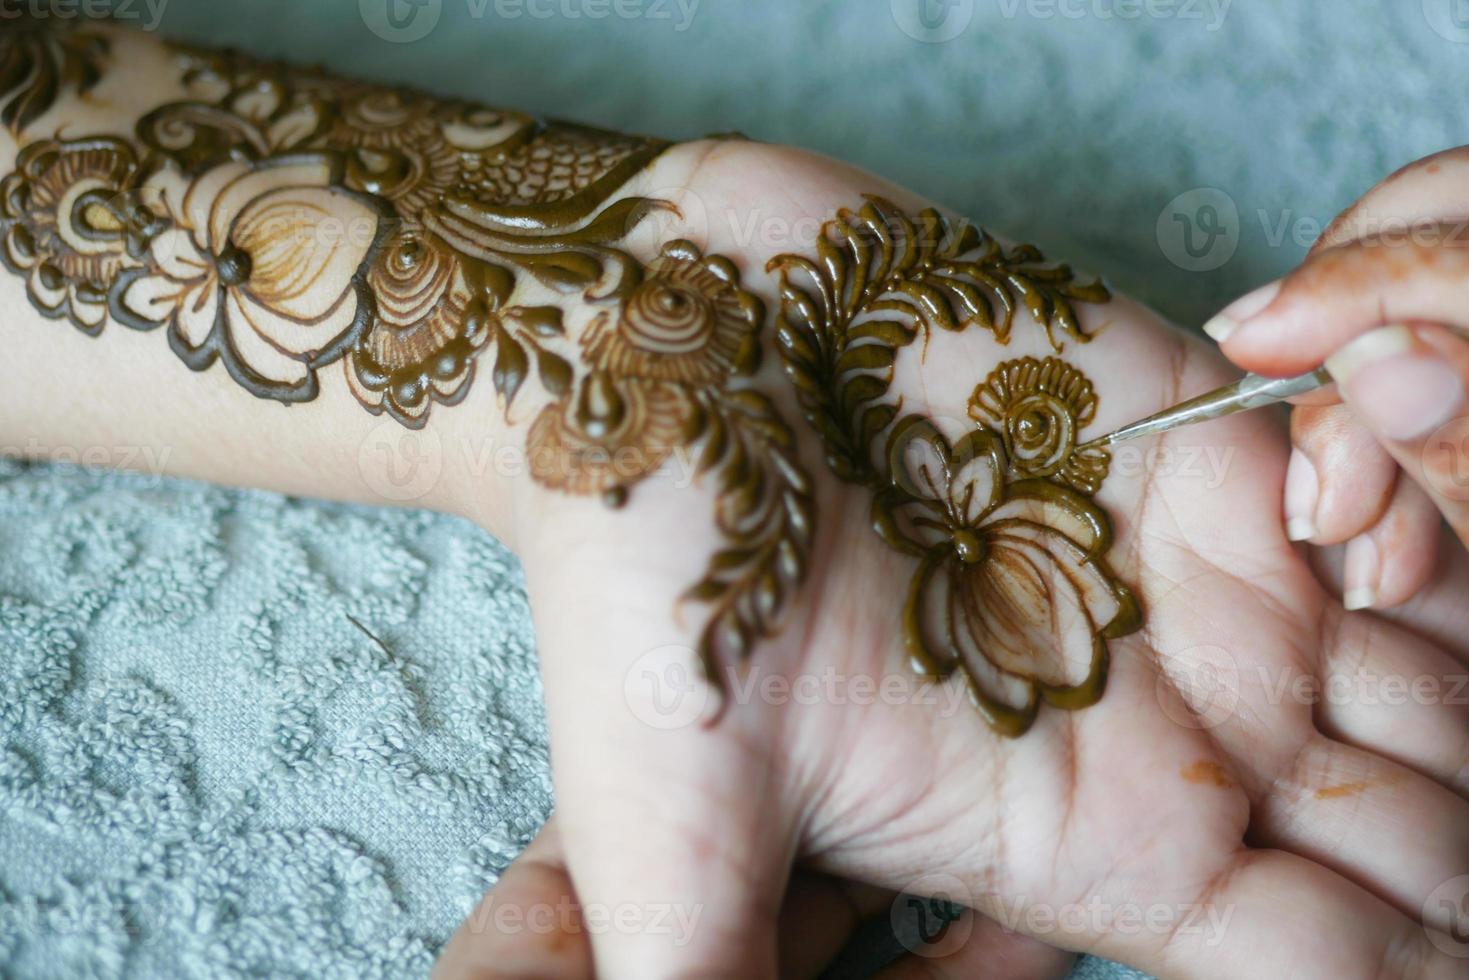
Tips for Applying Henna
Now, let’s get to the meat of the matter—tips for applying henna. Whether you’re using a cone or a brush, these tips will help you achieve professional-looking results:
1. Start with a Steady Hand
A steady hand is essential for creating clean lines and intricate designs. Practice on paper or a sketchbook before moving on to your skin. You can even use a stencil if you’re feeling unsure about freehand.
2. Use the Right Tools
Invest in good quality henna cones or brushes. A fine-tipped cone will give you more control over your designs, while a brush is perfect for filling in larger areas.
3. Work in Layers
If you’re creating a complex design, break it down into smaller sections. Work on one area at a time and let the paste dry slightly before moving on to the next section. This prevents smudging and ensures a clean finish.
4. Be Patient
Henna application is not a race. Take your time and focus on each stroke. Rushing can lead to mistakes, so slow down and enjoy the process.
Common Mistakes to Avoid
Even the best henna artists make mistakes sometimes. Here are a few common pitfalls to watch out for:
- Applying Too Much Paste: Using too much paste can make your design look messy. Stick to a thin layer for better results.
- Peeling Off Prematurely: Let the paste dry completely and avoid peeling it off too early. Patience pays off when it comes to henna.
- Ignoring Aftercare: Neglecting aftercare can fade your henna design faster. Follow the aftercare tips to make your design last longer.
By avoiding these mistakes, you’ll be well on your way to creating stunning henna designs that last.
Learning from Mistakes
Mistakes are part of the learning process. Don’t get discouraged if your first few attempts don’t turn out as expected. Practice makes perfect, and with time, you’ll develop your own unique style.
Aftercare Tips for Long-Lasting Henna
Aftercare is just as important as the application itself. Here’s how you can ensure your henna design stays vibrant for as long as possible:
- Avoid Water: Keep the design away from water for the first 24 hours. This allows the stain to set properly.
- Use Oil: Apply a natural oil like coconut or olive oil to seal the design. This helps lock in the color and prevents fading.
- Avoid Scrubbing: Be gentle with the area where the henna is applied. Avoid harsh scrubbing or exfoliation.
With proper aftercare, your henna design can last anywhere from one to three weeks, depending on the location and your skin type.
Extending the Life of Your Henna
If you want to make your henna design last even longer, consider covering it with a bandage or wrap when you sleep. This protects the design from friction and helps it fade more evenly.
Creative Henna Designs
Now that you’ve mastered the basics, it’s time to get creative! Here are a few design ideas to inspire you:
- Mandala Patterns: These intricate circular designs are perfect for beginners and experts alike.
- Floral Motifs: Flowers and leaves are classic henna design elements that add a touch of elegance.
- Geometric Shapes: Modern and edgy, geometric designs are a great way to mix things up.
Let your imagination run wild and create designs that reflect your personal style.
Customizing Your Design
Don’t be afraid to personalize your henna designs. Incorporate meaningful symbols, initials, or even small drawings to make your design unique.
Henna for Different Skin Types
Not all skin types react the same way to henna. Here’s how you can adjust your application technique based on your skin type:
- Oily Skin: Cleanse the area thoroughly and let it dry completely before applying henna.
- Dry Skin: Moisturize the area a few hours before application to help the paste adhere better.
- Sensitive Skin: Do a patch test and avoid using any additives or fragrances in your henna paste.
Tailoring your approach to your skin type can make a big difference in the final result.
Troubleshooting Skin Issues
If you experience any irritation or discomfort after applying henna, rinse the area with cold water and apply a soothing cream. If the irritation persists, consult a dermatologist.
Henna FAQs
Here are some frequently asked questions about henna:
Q: How long does henna last?
A: Henna typically lasts one to three weeks, depending on the location and your skin type.
Q: Can I apply henna on my face?
A: Yes, but be cautious and do a patch test first, as facial skin is more sensitive.
Q: Is henna safe for everyone?
A: Pure henna is generally safe, but some people may have allergies. Always do a patch test before applying it extensively.
Clearing Up Misconceptions
There are many myths and misconceptions about henna. Always rely on trusted sources and consult professionals if you’re unsure about anything.
Conclusion and Final Thoughts
There you have it—everything you need to know about tips for applying henna. From understanding the basics to mastering the techniques, this guide has covered it all. Remember, practice makes perfect, and with time, you’ll develop your own unique style.
So, what are you waiting for? Grab your henna cone and start creating stunning designs that will leave everyone in awe. Don’t forget to share your creations with us in the comments below, and check out our other articles for more tips and tricks.
Happy henna-ing, and may your designs be as beautiful as your creativity!
Article Recommendations